When we left our house of 15 years in Tillingham, we left behind a very nice greenhouse and an equally nice shed. It was a conscious decision based on the fact that they had stood firm for most of that time and removing them would probably seen them fall apart during the move so we decided to leave them for the new owners. Both the greenhouse and the shed had fitted their space well and were the biggest that we could get, so when it came to thinking about something to have at our new space, thoughts turned towards a poly tunnel. Burnham marshes are very exposed and its virtually always windy. Whatever we had would have to stand whatever the weather would bring but would also provide us with a 'controlled' growing space. A lot of research was undertaken into poly tunnels and we decided to get a 16 x 48 foot poly tunnel from First Tunnels. It is the smallest of their commercial tunnels but it is engineered to a higher standard than the domestic tunnels. The order was placed with as many attachments and gizmos as were available because we are probably only going to do this once. Shortly afterwards the 'poly tunnel of a thousand pieces' arrived.
 |
| The site was cleared and the position of the poles measured and roughly marked. |
 |
| One of the 18 foundation poles and plates being buried. |
 |
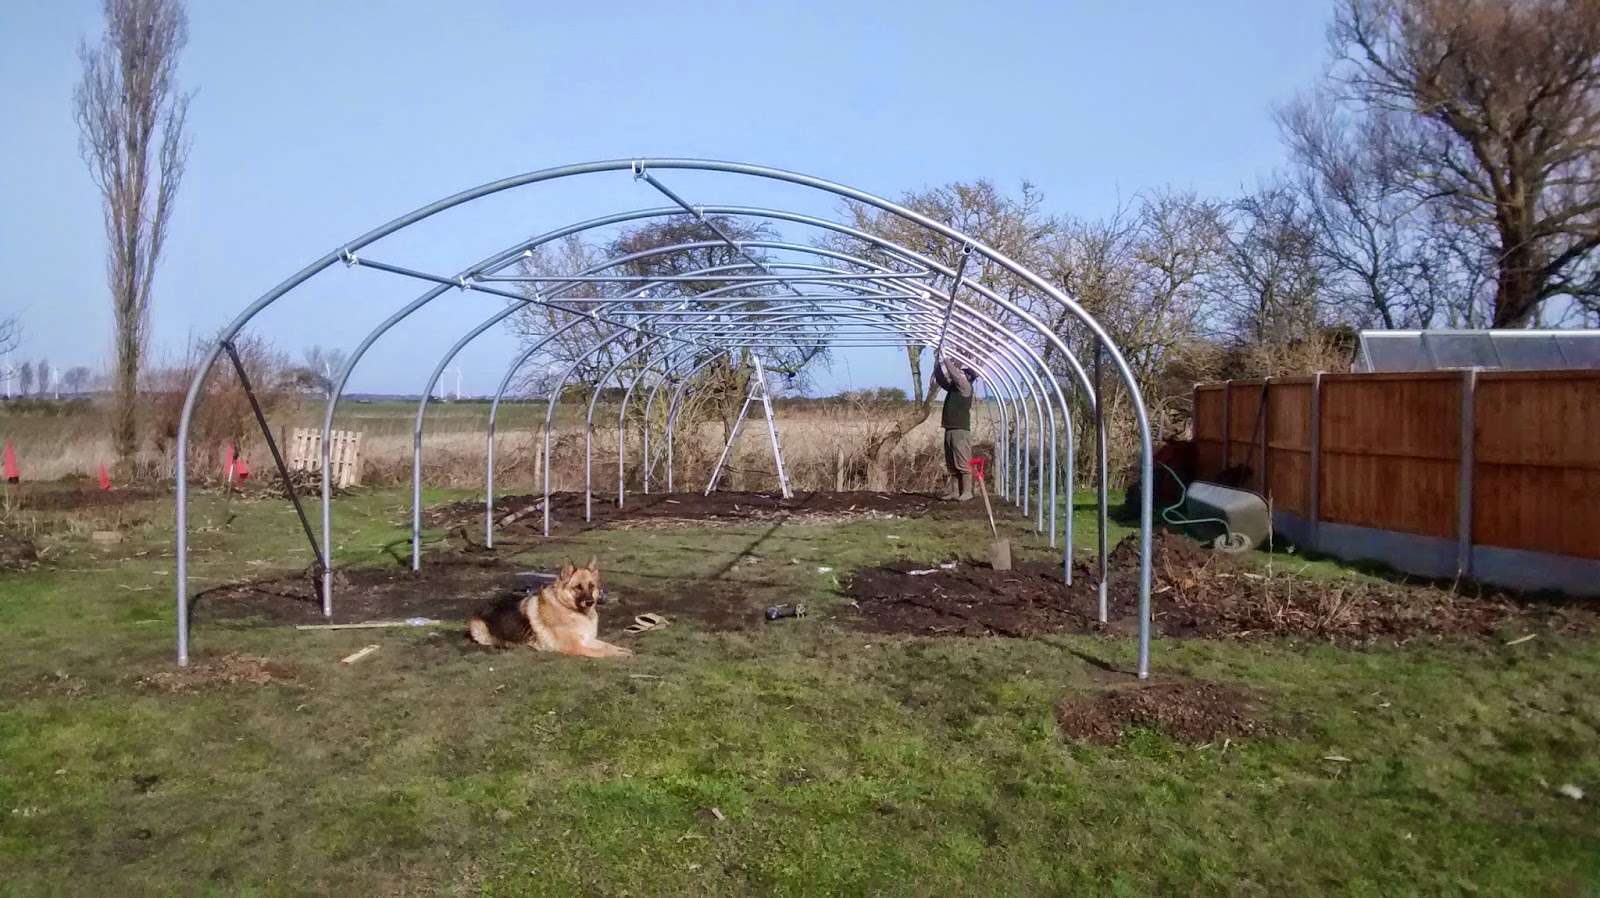
| The rib poles are finally up and fixed to the foundation poles |
One exciting day in February we were finally ready to start erecting the curved part of the poly tunnel. Nine ribs were slotted into the foundation poles and fixed together. We could finally see just how big this structure was going to be. It was much taller than I have envisaged but then there were many more poles still be added. One of the really clever things about the way these poles go together is the fixing screw with starts life as a drill bit but once it has penetrated the metal become a screw to hold the poles together. Genius!
 |
| Triple ridge poles, crop bars and storm braces to give rigidity |
Did I mention that this tunnel was over engineered? The next poles to be deployed were the three ridge poles which connect the ribs together. These were aligned visually as they would be seen from inside the tunnel and would be a constant irritation if not straight. Stretching across the top of the each of the internal ribs were added cropping bars and storm braces, giving the structure more rigidity and places to hang baskets. These were connected to the ridge poles with even more poles and diagonal poles added to the front and rear sections.
 |
| Staging down the right hand side, but no top |
We had the option of staging along the right hand side and now was the time to add that. We didn't fit the end pieces as we felt that would impede the construction of the doors and can easily be fitted later. One of my criticisms of this tunnel is that the top of the staging is not supplied ... why not? Whatever you find to put on top of the staging will have to be 6 foot long to reach from pole to pole. They do provide brackets to fix the top to the staging supports, whatever one chooses to use.
 |
| Working with wood now to construct the doors |
With most of the poles now used, we have finally come to the doors. The tunnel runs north south so we have opted to have sliding doors (its very windy) at each end. The doors come as packs of pre-cut wood and each one had to be joined with long bolts and the joints strengthened with nail plates. There were four to do but it did mean that we had the luxury of working in some shelter for a while. Once these were constructed, the next job was to construct the door frames.
 |
| Door frame added to the North end |
These did require some cutting of the lengths of wood with more digging as each door post was concreted into the ground and supported by more clamps and cross beams as metal met wood. We started with the north end doors as these will be probably opened less as the access will be through the south end doors.
 |
| Two more beds outside the tunnel |